
The global economy is in turmoil once again, this time due to the latest round of tariffs imposed by U.S. President Donald Trump. His aggressive stance on trade has resulted in a significant impact on international currencies, stock markets, and investor confidence. Countries worldwide are now grappling with economic instability as their national currencies respond to these new measures.
This article provides an in-depth analysis of how different currencies are affected, what investors should expect, and how central banks might react to counteract these disruptions.
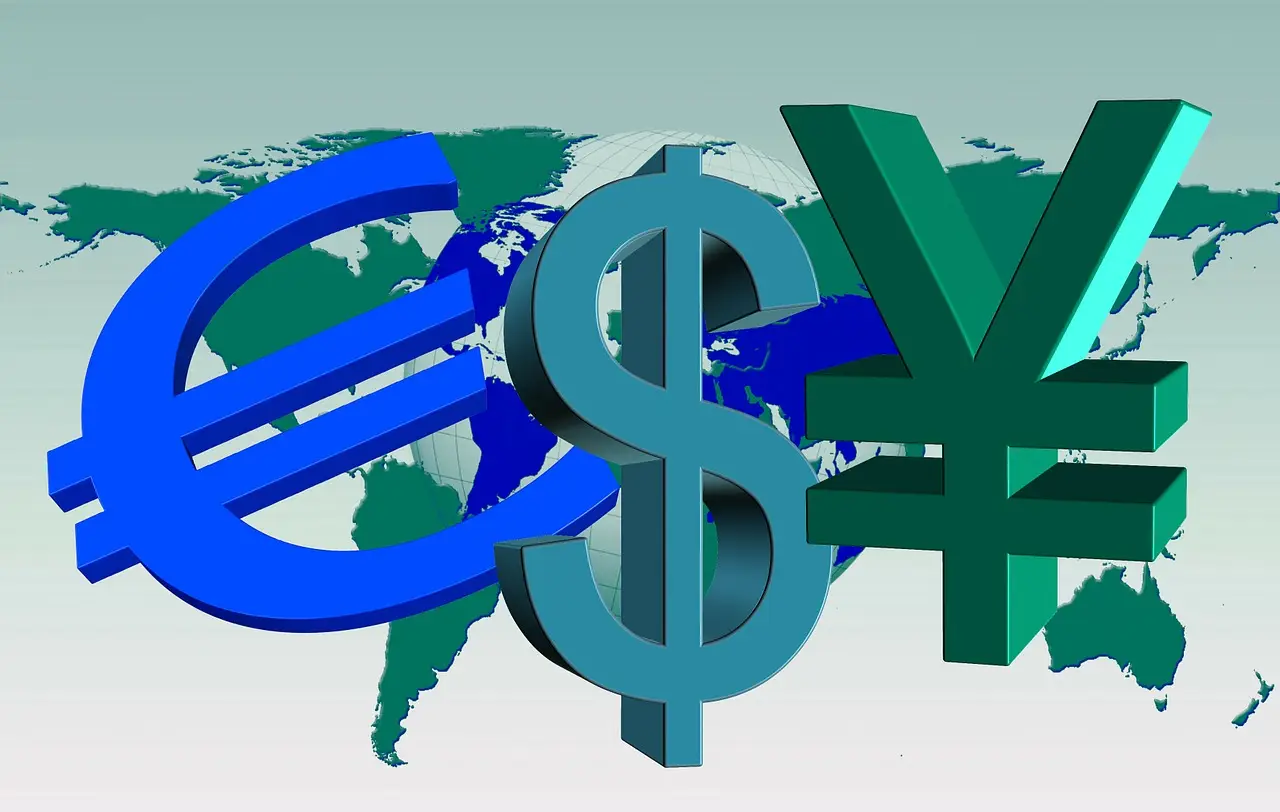
How Tariffs Impact Currency Markets
Before diving into specific currencies, it’s essential to understand how tariffs influence exchange rates. Tariffs act as taxes on imported goods, making foreign products more expensive for consumers. While they are intended to protect domestic industries, they often trigger retaliatory measures from affected countries, leading to increased costs and global trade slowdowns.
This uncertainty can lead to major shifts in currency values, as traders and investors react to new market conditions. The key factors influencing currency fluctuations include:
- Risk Aversion: Investors move funds into safe-haven currencies when economic uncertainty rises.
- Interest Rate Policies: Central banks may adjust interest rates to stabilize their economies.
- Trade Deficits: Countries with high trade deficits may see their currency weaken.
- Inflationary Pressures: Higher import costs can lead to inflation, affecting purchasing power.
Now, let’s analyze how major global currencies have responded to these new tariffs.
Safe-Haven Currencies Surge
In times of economic uncertainty, investors often seek refuge in safe-haven currencies. Following the tariff announcements, the Japanese yen and Swiss franc experienced notable appreciations:
- Japanese Yen: Strengthened by as much as 1.6% against the U.S. dollar, reaching 146.91, the biggest advance since November 27 (Bloomberg).
- Swiss Franc: Jumped more than 1% to 0.85095 per dollar, having also surged 2.3% against the greenback last week (Economic Times).
These movements reflect a shift in investor sentiment towards more stable assets amid escalating trade tensions. Historically, both the yen and the franc tend to perform well during global downturns. A similar pattern occurred during the 2008 financial crisis when investors pulled out of riskier markets and parked their funds in safer alternatives.
Risk-Sensitive Currencies Decline
Conversely, currencies tied to economies reliant on global trade faced declines:
- Australian Dollar: Fell to a five-year low of $0.5933, battling to stay above 60 cents (Reuters).
- New Zealand Dollar: Declined, trading at $0.5572, having slid more than 1% earlier in the session (Reuters).
These depreciations underscore the vulnerabilities of economies heavily engaged in international trade. Australia and New Zealand are major exporters of raw materials like iron ore and dairy products. Any disruptions in global trade significantly affect their economic stability.
Emerging Market Currencies Under Pressure
Emerging economies, particularly those in Asia, witnessed significant currency depreciations:
- Chinese Yuan: Dropped to its lowest level in seven weeks, with the offshore yuan trading at 7.2959 per dollar (Reuters).
- Indian Rupee: Faced downward pressure amid broader market sell-offs.
China, as the primary target of Trump’s tariffs, has seen the most significant impact. The Chinese government has historically used currency devaluation as a tool to counteract tariffs by making its exports cheaper. However, such a move carries risks, including capital flight and reduced foreign investment.
U.S. Dollar’s Mixed Performance
The U.S. dollar displayed a mixed performance:
- Against Safe-Haven Currencies: Declined as investors moved towards the yen and franc (Reuters).
- Against Risk-Sensitive Currencies: Strengthened due to the relative stability of the U.S. economy.
The dollar remains the world’s reserve currency, meaning that even when tariffs cause disruptions, it still attracts investment due to the relative strength of the U.S. economy.
Stock Market and Investor Confidence
The tariffs have led to heightened market volatility and eroded investor confidence:
- Stock Market Losses: Approximately $6 trillion wiped from U.S. stocks in the past week (New York Post).
- Global Market Reactions: Asian shares sank across the board, with Japan’s Nikkei 225 diving nearly 9% (Al Jazeera).
These developments raise concerns about a potential global recession. As history shows, uncertainty in financial markets often precedes economic downturns.
Implications for International Trade
The tariffs have significant implications for international trade:
- China’s Response: China may consider currency devaluation to regain competitiveness, though this strategy carries risks (Reuters).
- Global Supply Chains: Disruptions are likely as countries adjust to new trade barriers, leading to increased costs and delays.
Trade restrictions often backfire, leading to increased prices for consumers and reduced economic growth.
Future Outlook
Looking ahead, several factors will influence currency movements:
- Policy Responses: Central banks may adjust interest rates or intervene in currency markets.
- Trade Negotiations: Ongoing discussions between countries could lead to the reduction or removal of tariffs.
- Economic Indicators: Data on inflation, employment, and growth will shape future trends.
Final Thoughts
President Trump’s new tariffs have triggered significant fluctuations in global currencies, reflecting the interconnectedness of international markets and the profound impact of trade policies on economic stability. While some nations may seek short-term solutions to stabilize their economies, long-term effects remain uncertain. Investors should monitor these developments closely, as the financial landscape continues to evolve.


